Want to add some action sports to your outdoor programming repertoire? One of the best places to start is with mountain biking. Contrary to what it might look like to those who haven’t tried the sport, mountain biking doesn’t have to be super technical – just as with skiing or hiking, you can find trails and routes fit for every experience level. Bonus? They’re usually located in beautiful places!
To get your gears turning, here are some guidelines to help you launch a youth-focused mountain bike program.
STAFFING
Before you get rolling, it’s important to consider the experience level of people who are staffing and volunteering for the program. As with any activity-based programming, staff should have basic training and experience with group management, stewardship, teaching skills, and first aid.
In addition to those basic qualifications, anyone doing hands-on teaching should have practical mountain bike experience. You should have a basic understanding of bike parts and their functions, how to do common repairs on trail, and how to safely operate a mountain bike. Unless you’re partnering with a local organization that knows the area well, you should also have experience on the specific trails you’re riding. In addition, you’ll need a working knowledge of local etiquette and regulations, along with any land use guidelines specific to your chosen trail.
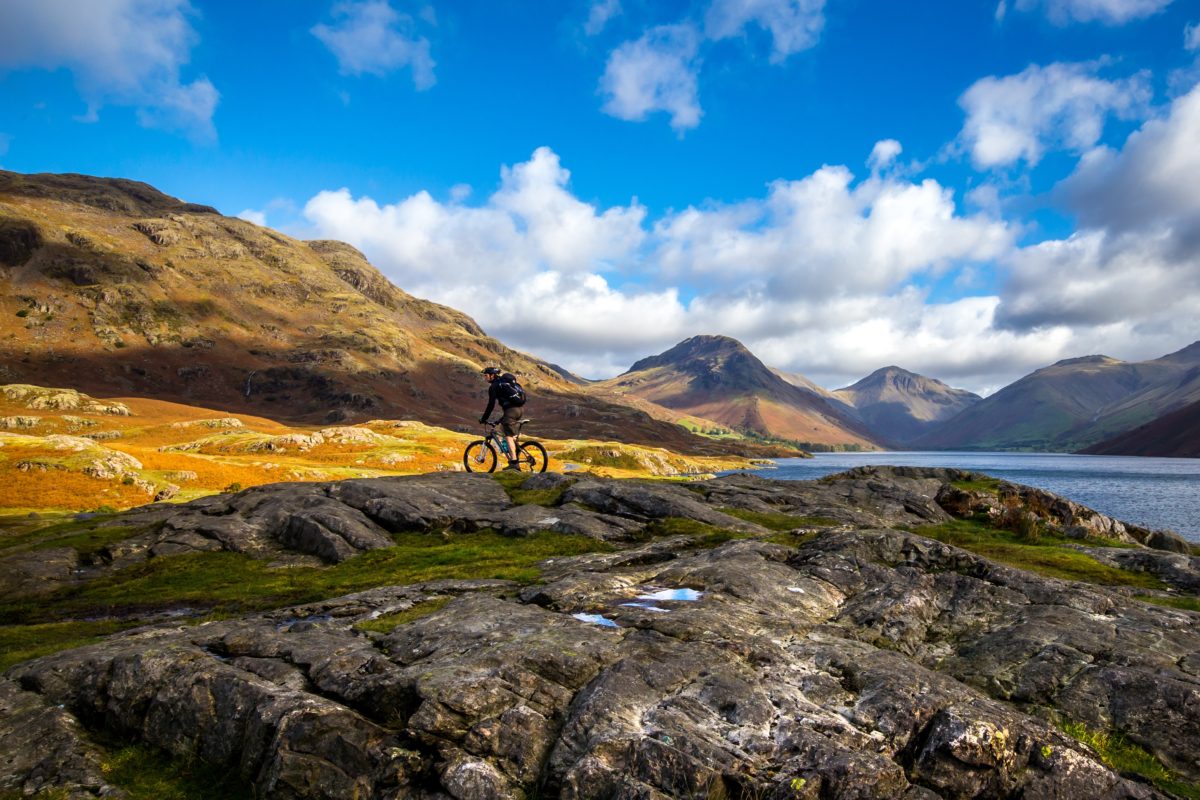
photo by John Gough
PLANNING
While it’s possible to offer standalone cycling outings, we’ll focus here on planning for a full mountain bike program that extends over several weeks or months. This allows you to cover a broader scope of subjects, and allows participants to experience some progression in the sport, especially if they are beginners. During the planning stage, you’ll want to consider not just staffing, as discussed earlier, but also lesson content, program locations, and organizational paperwork:
- Teaching Topics: Take the time to outline which mountain biking subjects you want to cover during your program. Basics include bike parts and functions, safety, and technique. You can also include lessons on related topics like stewardship and navigation.
- Location: Selecting a trail is dependent on the ability of your group and your own experience as an instructor. You’ll want to check whether any permits are required to bike in this location, and you’ll want to communicate your group’s needs and plans with the managing agency or organization. There are a lot of resources to help you find appropriate trails, from paper maps and guidebooks to online listings like Mountain Bike Project.
- Documentation: Think about what kind of paperwork might be helpful throughout your program. Create and manage all of it ahead of time, from participant intake forms to daily planning sheets, so that you’re organized when the time comes to launch. If you’re looking for guidance on where to start, check out our Trip Log, Local Operation Plan, Mountain Biking Day at a Glance, and Mountain Biking Day Planner The latter also features a sample lesson plan to help you brainstorm.
LOGISTICS
Now that your general program plan is mapped out, it’s time to drill down into the nitty gritty of logistics. Here are a few things to keep in mind:
- Transportation: How will participants, staff, and volunteers reach the program site? Consider whether there is adequate parking available, whether any permits are required to park, and what type of vehicle(s) will be needed to transport participants, staff, and equipment.
- Equipment: Consider what gear is necessary not only for the cycling outing (bikes, helmets, repair kits, etc.), but also on a more general level for a classroom or field trip activity; this might include everything from snacks to a first aid kit. Be especially cautious to ensure all equipment fits your participants so that they have a comfortable and safe ride. For a customizable starter list, visit our Mountain Biking Gear Checklist.
- Safety: Do a pre-outing trip to become familiar with any objective hazards that exist in the location, and to ensure the trail’s difficulty level seems appropriate to your group. Consider alternate plans for foul weather, ensure participants are wearing safety gear, and make sure you have a Local Operation Plan (see above) filed away. Choose a trail that’s accessible to everyone in the group, pre-check all bikes to ensure they’re in working order, and keep instructor to participant ratios small.
- Permits: Check ahead of time to see if the trails you’re riding are actually open to mountain bikes, whether they require a permit, and whether there is a limit on group size.

photo by Robb Leahy
RESOURCES
For more information, visit our Mountain Biking Path, which offers a suite of resources. From there, consider starting with the Introduction and Overview to Mountain Biking with Youth, and moving down the list from there.
These additional programming-related paths will also help as you get ready to head out on two wheels:
- Developing Your Outdoor Program Model Path
- After-School Programs / Adventure Clubs Path
- Program Evaluation Path
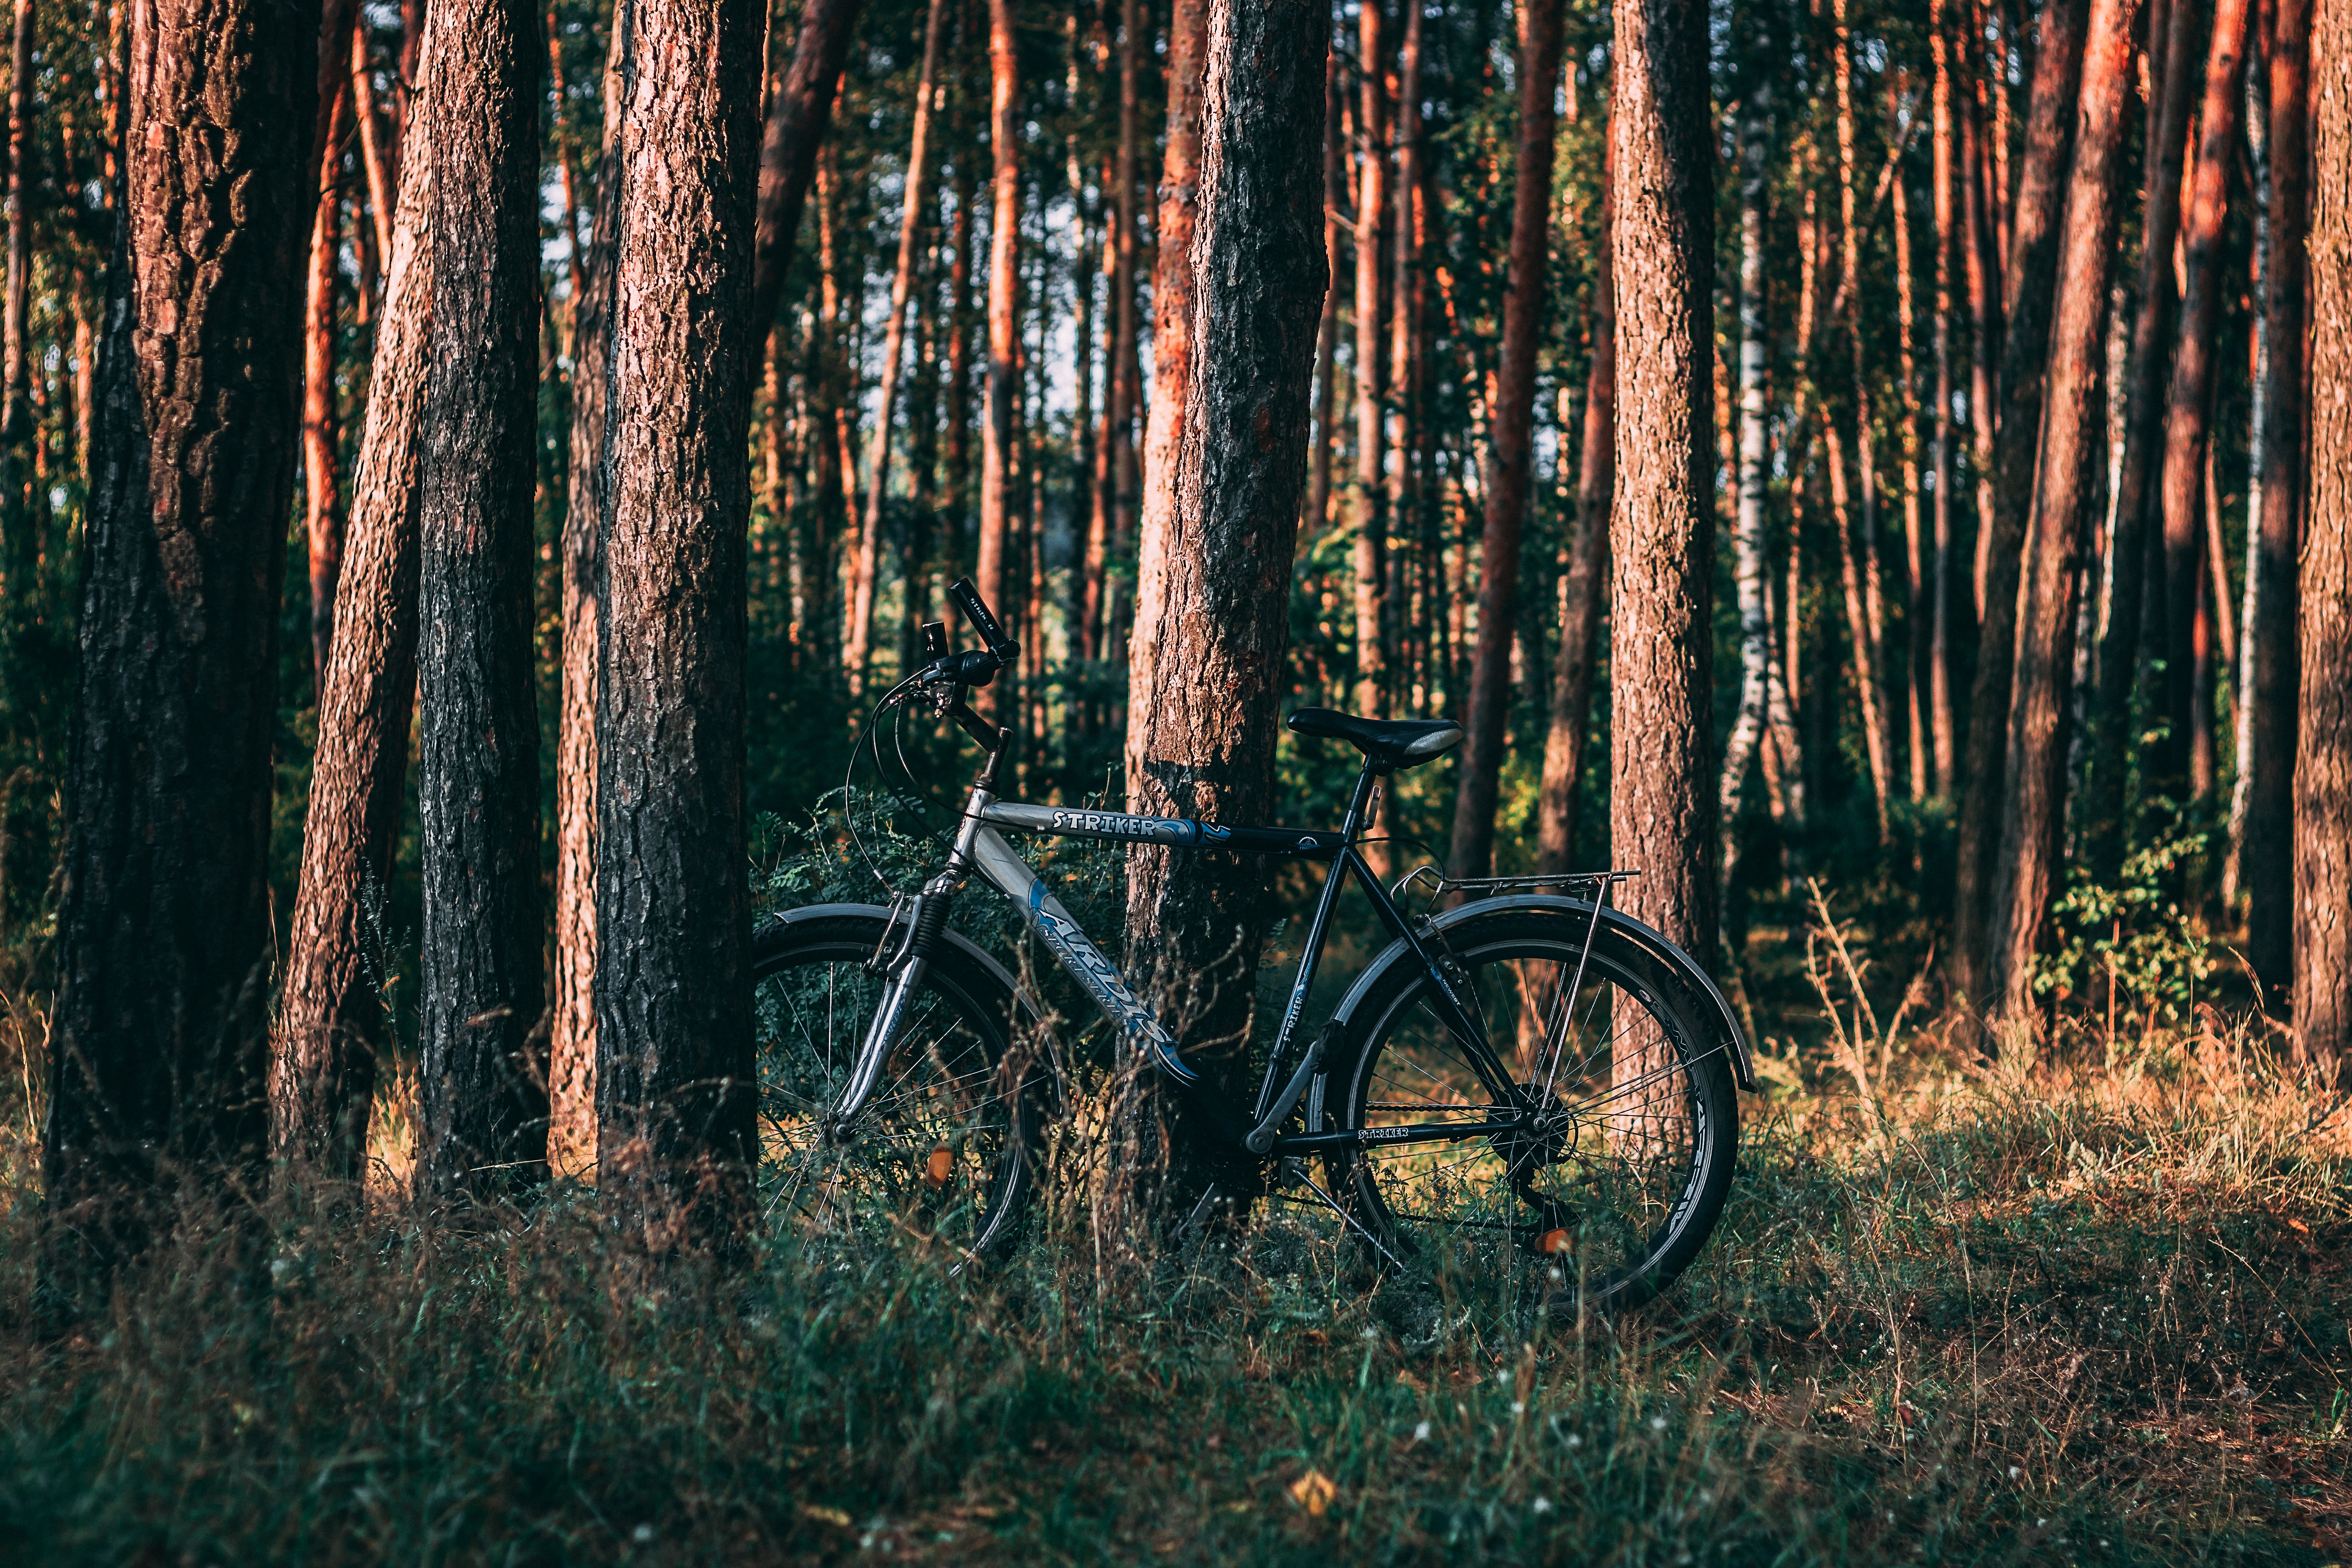
top photo by Michail Sapiton